Hey all!
Sorry it's been so long since my last post. I've been busy with my husband deploying and starting Chandler Foxx Designs.
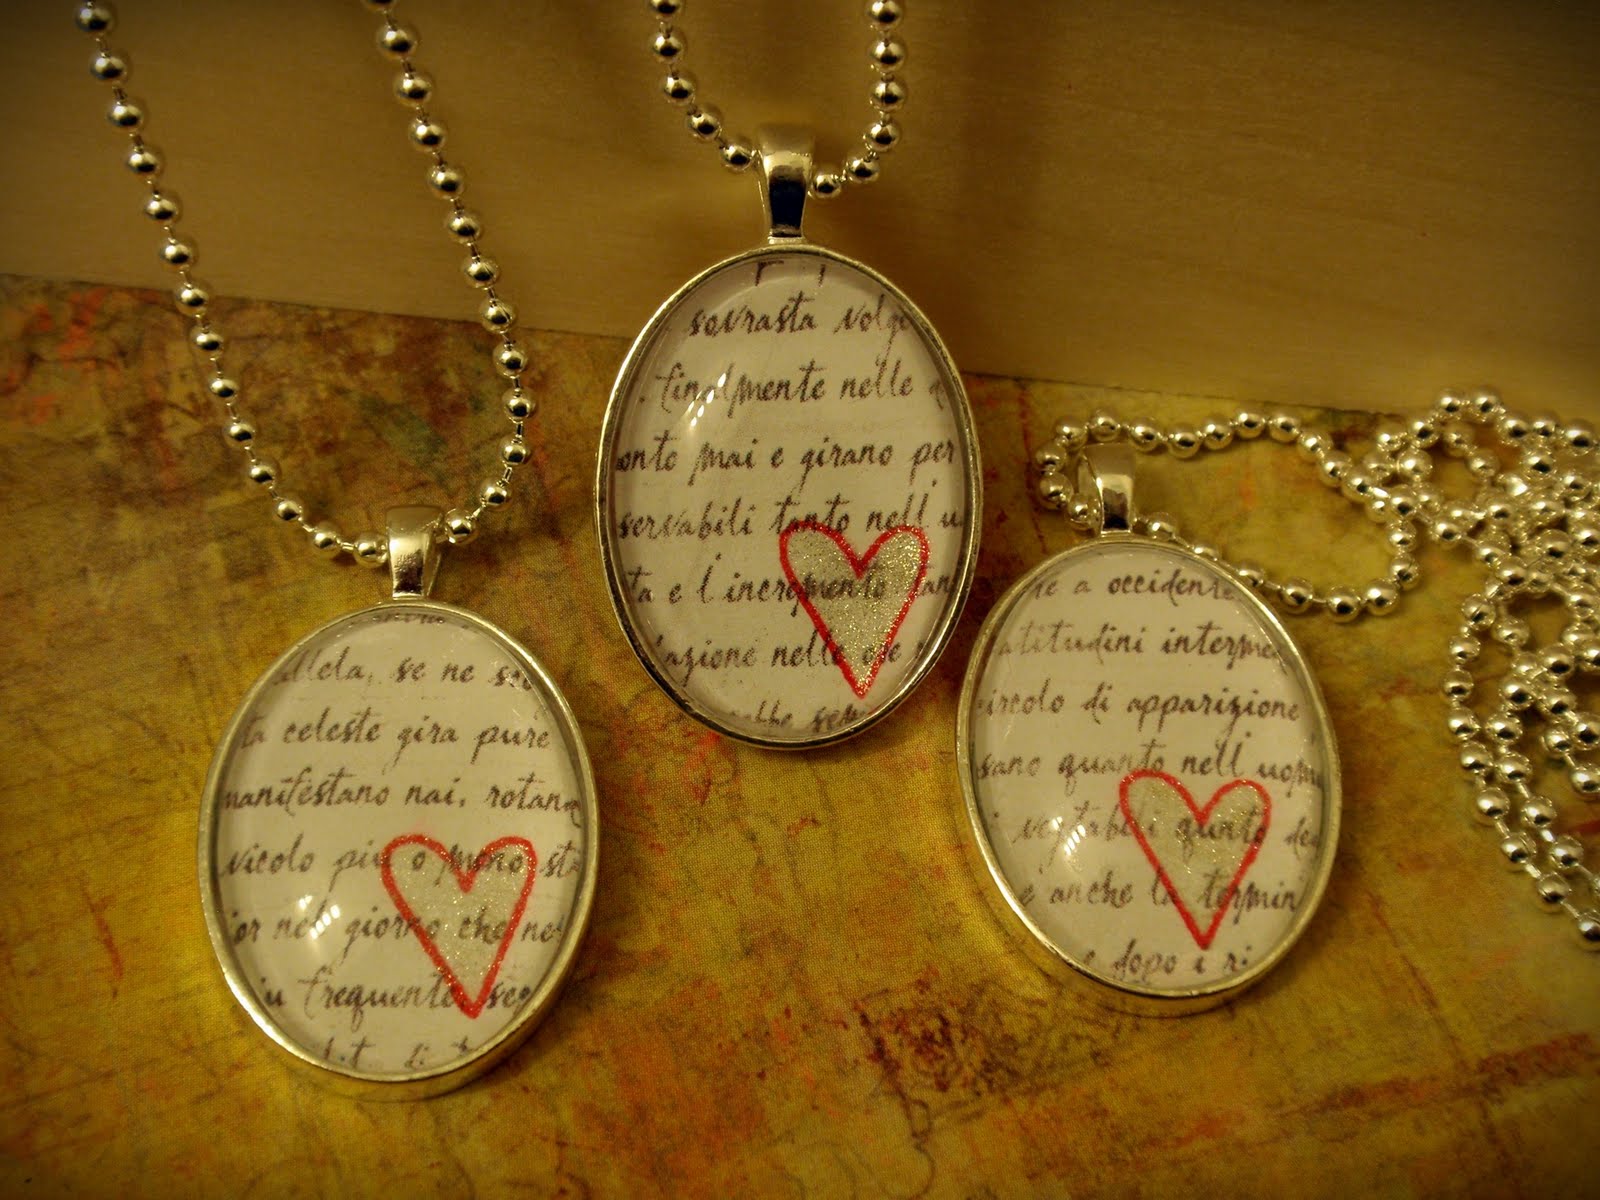
Currently Chandler Foxx Designs offers handmade pendants. I hope to branch out into other types of handmade projects in the near future!
Here are a few of the styles I have to offer...


Come join me on facebook on the Chandler Foxx Designs
page and on etsy in the Chandler Foxx store
When we have 50 fans on Facebook we'll have a giveaway!!!


